01
Pool Opening Chemicals and Other Necessary Supplies
02
Beginning Pool Maintenance
Is there anything more blissful than a lazy afternoon around the pool, sipping drinks and soaking up the sun? Sounds pretty spectacular. Of course, a little effort is required to get your pool up and running at the start of the season, so don’t dive in just yet— follow this guide for opening your pool this spring, so it’s safe and clean for your family to enjoy.
Pool Opening Chemicals and Other Necessary Supplies
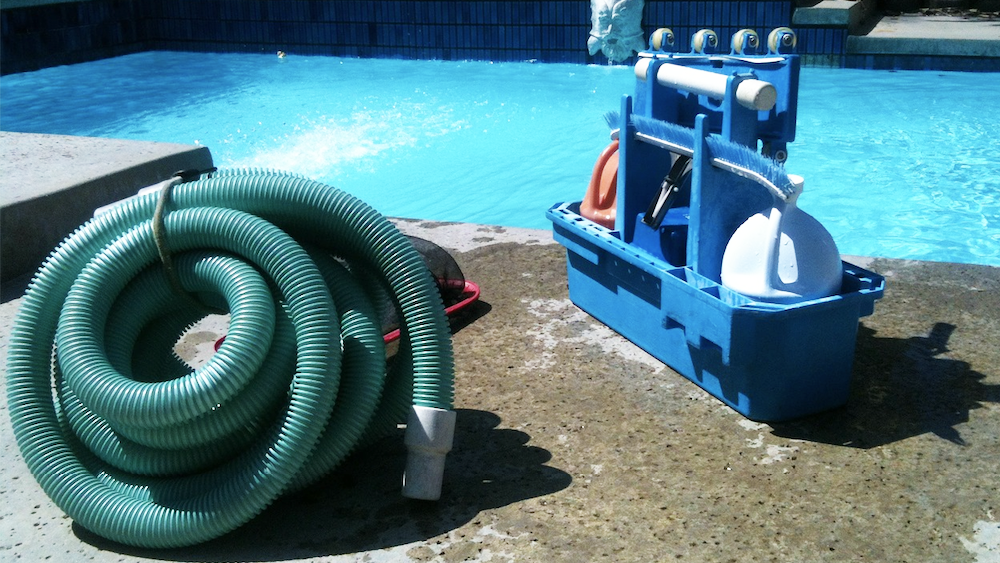
There are quite a few tools and products we’ll need for a complete pool season starter kit. Before we get started with treating the water, we should make sure we have all of the required supplies and do a thorough inspection of our pool. If any parts are looking damaged and in need of repair or replacement, it’s best to get that sorted out before we go ahead with filling the pool, or else we might be dealing with leaks and messy filter mishaps later on.
Look over this pool opening checklist and make sure you have all of the following tools and chemical amendments:
- Pool sweeper/skimmer
- Soft broom
- Pool gasket lubricant
- Chemical test strips
- pH increaser & decreaser
- Alkalinity increaser
- Metal removing agent
- Pool shock treatment
- Calcium hardness control
- Thread seal tape
To save ourselves a little time and effort, pool opening kits are available for purchase which contain a bundle of the products we’ll need. Our Poolife Opening Kit comes with their specially formulated Algistat treatment to prevent the buildup of algae, as well as their pool shock treatment and metal removing agent.
Beginning Pool Maintenance
Once we have everything we need to get this show on the road, we can start by picking a sunny weekend to spend setting everything up. While it isn’t a terribly complicated series of steps, they do take some time and can’t be rushed, so make sure you’ve set aside adequate prep time.
Follow these guidelines and get ready to jump in:
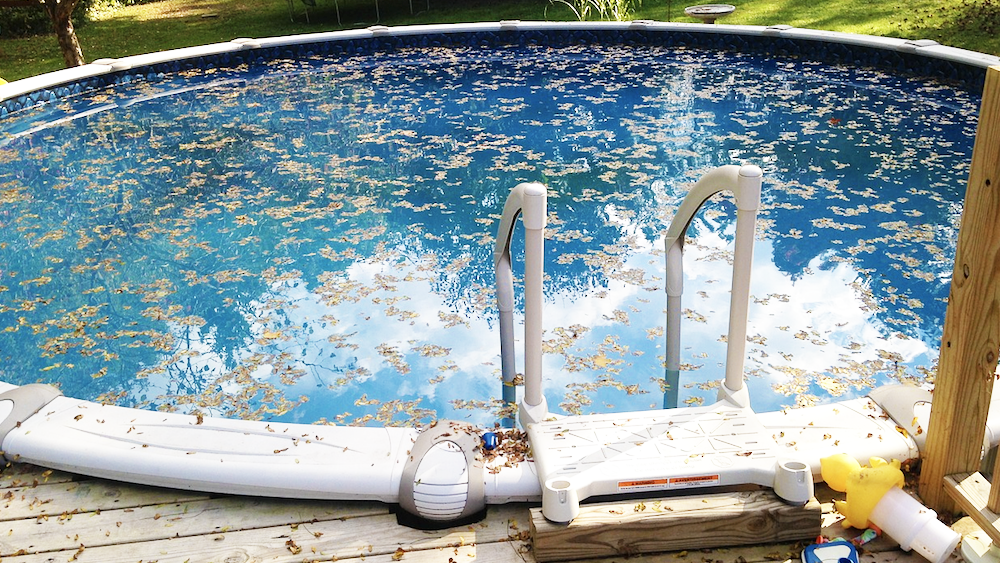
1. Clean off the pool cover and put it away in storage. Since the end of last summer, we haven’t needed to think much about pool maintenance, so there’s probably going to be a buildup of debris and other gnarly stuff on the pool cover. If there’s a lot of water on top of the pool cover, we can use a pool cover pump to drain it. Sweep away the junk with a soft broom, give the cover a quick hose-down to wash it, and let it dry before putting it into storage. If it’s wet or dirty when we pack it away, it may become a hotbed for mold.
2. Use the pool sweeper to clean off any debris that has fallen in. Anything that snuck past the pool cover and is floating around can be easily skimmed out with the pool sweeper. No need to worry about getting every tiny little leaf and dead bug— we only need to concern ourselves with larger debris that could clog the pool filter.
3. Take off your winterizing plugs (these would have been connected last autumn). These pipes are installed to keep our pools empty and dry during the winter because if water made its way through the pool pipes, they could freeze or burst over the winter.
4. Check the pump and filter to see if there are any parts that are damaged, or in need of repair. It’s a good idea to clean and replace the filter at the same time, if necessary. We can take our thread seal tape and reinstall the pump and drain plugs in the pool’s filter basket. Next, we treat the o-rings of our pump and filter with pool gasket lubricant. This will help keep water from leaking out around the pool valves. Sometimes in the winter when they dry out, the cold temperatures can cause them to crack, so now is the time to replace any that are badly damaged.
5. If they’re in working order, turn on the pump and filter. We’ll want to start with the return-side valves. This way, water making its way to the pool pump actually has somewhere to go. Some pools have multi-port valves, so if we have one like that, we’ll need to put it on the waste setting. After that, we’ll want to flip the circuit breaker and turn the pump on. Once that pump is good to go, we can turn the multi-port valve to filter and let it run for a full day. It’s important to check it every so often to make sure the pressure gauge is in the safe zone (if it spikes above 10 psi, something might be compromising the water flow). If this happens, we’ll need to check the filters to see if anything is stuck in there.
6. Add metal removing agent. Heavy metals and minerals can build up on our pool walls over time, leaving behind unsightly stains. This product will help keep the metal levels low.
7. Check your water chemistry (alkalinity, pH and calcium hardness). Before we start, we’ll need to ensure that our pool is totally full, because if the water levels aren’t quite right it will throw off our test results, and we’ll need to test again later. Test strips can show us all the chemical levels in our pools— all we need to do is fill a cup with pool water and dunk a test strip in.
8. Balance out water chemistry with pool opening chemicals. First, we’ll need to check the alkalinity, because this has a direct effect on pH. Alkalinity is kind of like a pool pH buffer, and it stops the levels from drastically fluctuating. We’ll want alkaline levels between 100-150 ppm, so we may need to add some alkalinity increaser if necessary. Next, we should test our pool pH. You want it to be right in the safety zone of 7.4-7.6, so we’ll have to use our pH increaser or decreaser depending on what the test indicates is needed.
9. For plaster pools, adjust the calcium hardness. Maintaining good calcium levels will keep plaster pool walls from eroding over time. Try to keep the levels between 100-275 ppm.

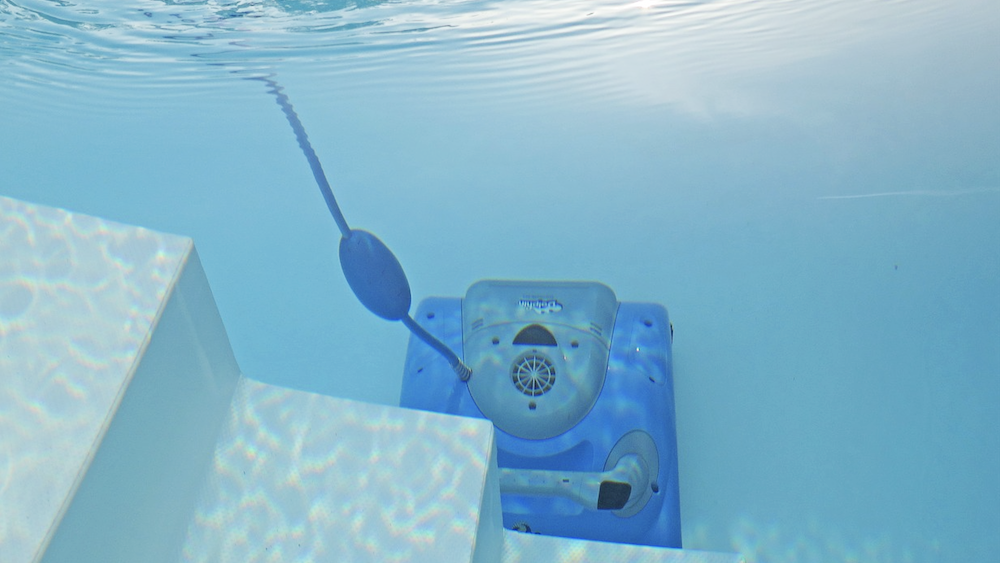
10. Scrub down your pool and add in a pool shock treatment. Really go to town on those pool walls— they can get pretty filthy. A pool vacuum will help suck up all the loosened-up debris. We can even pick up robotic pool cleaners to make the job a little easier. Now, our pool may appear to be pretty clean, but there’s some nasty stuff in there that isn’t visible to the naked eye, so we’ll add in our pool shock treatment to kill all the unwanted bacteria, spores and microorganisms. We recommend Poolife TurboShock Shock Treatment.
11. Keep the filter running for 24 hours. This helps clear out the last of the remaining gunk, and it helps get the pool shock all mixed in. As pool season continues, we’ll need to keep checking our water chemistry and make sure chlorine levels are between 1.0-2.0 ppm. Algistats, stain-prevention products and water clarifiers can also be added, if necessary.
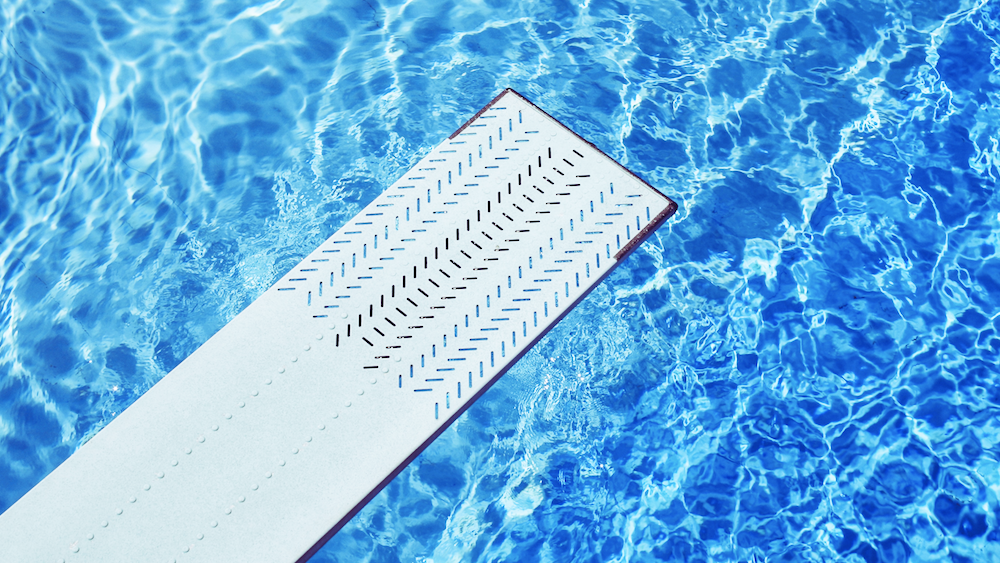
12. Add or install any pool accessories. Grab the pool ladder, rails, diving boards, or any other equipment that has been stored away. Toss in a couple pool noodles and floaties, and we’re ready to rock!
Rome wasn’t built in a day, and neither were our pools, but the bit of effort required to get them up and running is well worth a summer full of pool parties, cannonballs and Marco Polo. Grab your goggles and flippers—pool season is almost here!