If you’re looking for an easy way to get more nutrient-rich greens in your diet, we encourage you to experiment with growing microgreens at home. There are so many delicious varieties you can sprout from seed and sprinkle onto all sorts of different dishes, for an extra boost of vitamins and green goodness. For everything you need to know about how to grow microgreens in St. John and Frankfort, take a look at this overview of the basics of indoor microgreen gardening.
How Do You Start Growing Microgreens?
To start growing microgreens, you can directly sow your seeds into a tray full of seed starting soil, as directed on the seed package. Some seeds can simply be sprinkled onto the soil, whereas others need to be pushed in and covered. We recommend using a soil that is specially formulated for starting seeds, such as our Black Gold Seedling Mix.
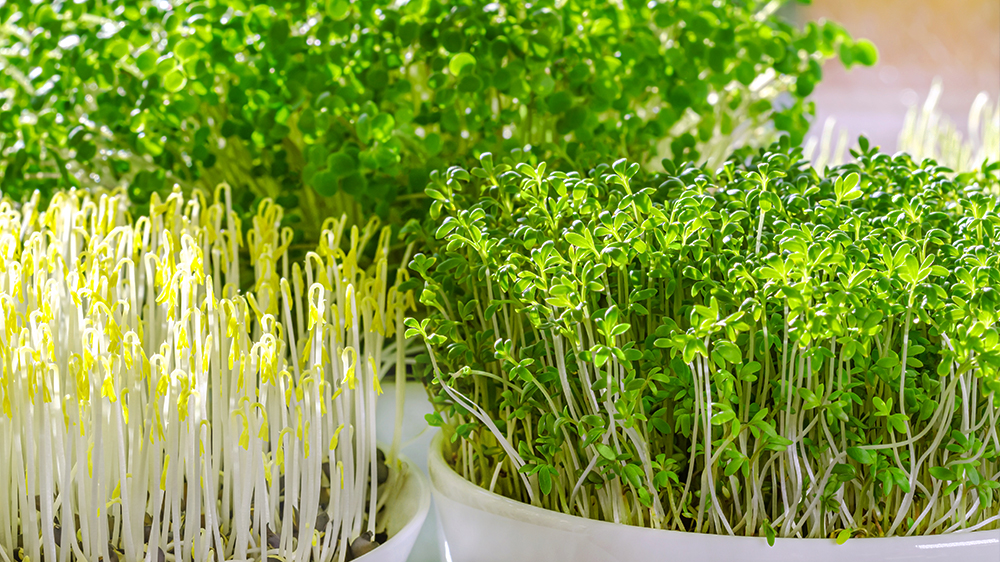
Any standard seed tray should work just fine, but if you’d like to further simplify the process, you can try a self-watering greenhouse kit or a hydrofarm germination station with foolproof temperature and humidity control. The trays aren’t too clunky, so they’re easy to set up by a window so they can get some sun. However, if sunlight isn’t in high supply in your home, you can always get a seed tray with built-in grow lights.
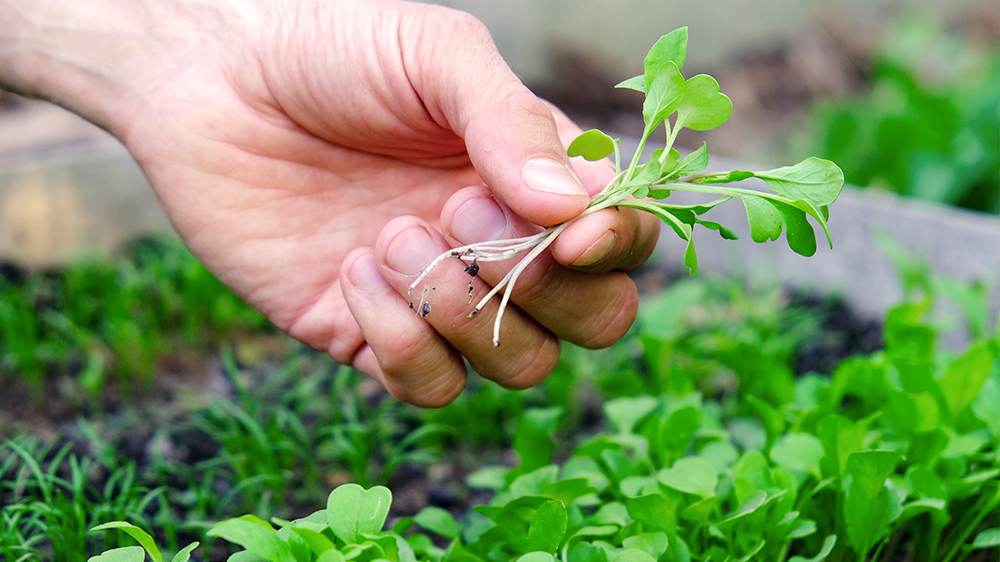
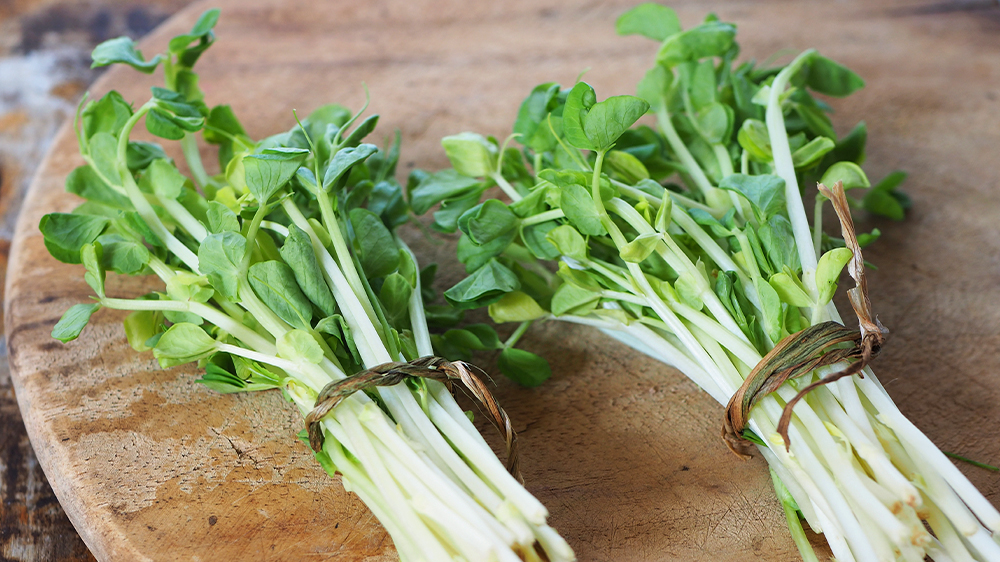
Once your microgreens begin to sprout, you won’t need to wait too long until they’re ready to eat. Ideally, you’ll want to harvest them in under one month after planting when they’re under two inches tall. The smaller and more immature they are, the more vitamins are packed in there, so once two leaves have fully opened up and turned green on each sprout, you can go right ahead and pull them from the root, rinse them thoroughly, and eat! If you want to wait longer for them to grow a bit bigger, you can trim them off with scissors. The roots will be longer and more developed at this point, and while they’re still edible, not everyone likes them as much as they enjoy the green bits.
Do Microgreens Regrow After Cutting?
In short, no, they won’t continue to grow because they won’t have leaves to soak up sunlight to photosynthesize. Unless you’ve sprouted microgreens with many stems and leaves, and you’re able to cut some out without taking off the majority of the plant, they aren’t likely to come back. Keep in mind; microgreens grow pretty fast, so you can repeat the process over and over without having to wait too long for your next crop.
You can still use the soil left in your seed tray for a few more crop rotations. Since the sprouts aren’t in there for very long, there’s still plenty of nutritional content to be had for a new round of microgreens. Simply pop out the soil cake, try to massage out any chunky, leftover root pieces, return the soil to the tray, and top it up if needed. If a little bit of root remains are left behind, it should be fine.
Some microgreens, like wheatgrass, will continue to grow after you’ve cut them once, but they won’t have very much nutritional content packed in on the second go-round. Plus, they’re more likely to develop mold if you try to regrow them, so it’s best to dump the tray and start fresh after harvesting.
What Are The Best Microgreens To Grow?
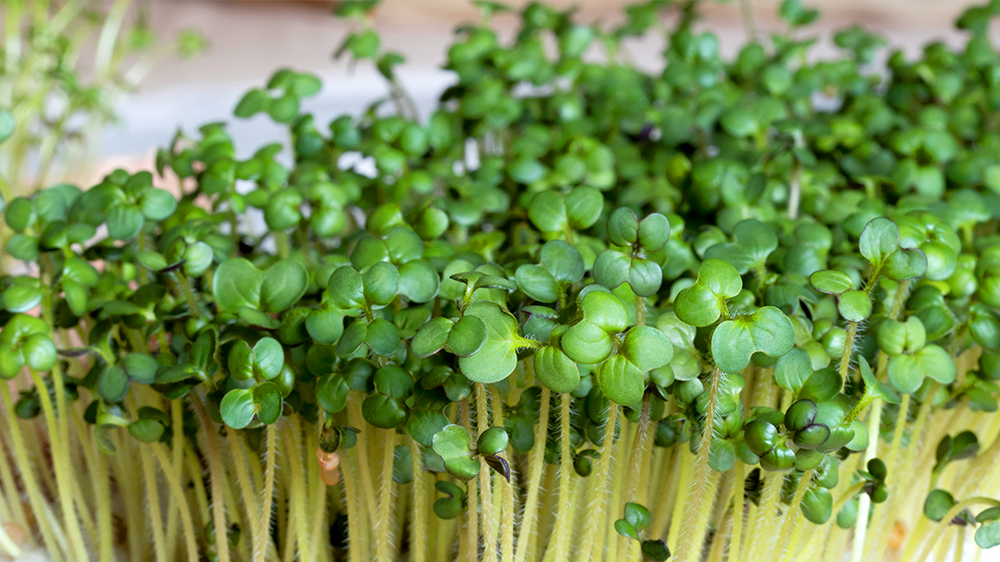
So many common garden plants and flowers can be grown and harvested as microgreens—even plants that aren’t considered edible in their mature form! However, it’s best to buy seeds that are specifically formulated for microgreen sprouting, because some seeds intended for growing larger vegetable plants may be treated with an antifungal preventative.
Here are some of our favorite varieties for growing at home:
Looking For More Substantial Garden Greens?
Microgreens are such an easy edible to grow indoors, but if you’re craving some bigger, bulkier garden greens to enjoy through the summer, and you don’t quite have the space to grow them yourself, consider signing up for our farm-to-table CSA program!
Our CSA (Community Shared Agriculture) program is a fantastic way to get locally-grown, garden-fresh produce from June through October, totaling 22 weekly shares. Simply sign up for the full share, or the half share if you have a smaller household, and pick up your vegetable bundles from our store each week. As the season progresses, the variety of vegetables, fruits, and herbs will be ever-changing, so you’ll look forward to the variety and fun surprises in every box!
On top of receiving loads of fresh, healthy produce each week and helping to support local farmers, you’ll also save a ton of money in the long run! By prepaying for all that produce, you can expect to save 20-30% than if you were to make weekly stops at the supermarket produce aisle.

We can’t wait for the warmer weather to roll in so we can dive into the gardening season and enjoy some delicious homegrown veggies! If you’re as antsy to get started as we are, you may as well get your fix of fresh garden greens a little early by growing microgreens indoors. Visit either of our Alsip Home & Nursery locations, and we’ll get you set up with all the supplies you need.